

(Above: In Box CCCIII, Framed: 57" x 26"; unframed 17" x 48". Click on any image in this blog post for an enlargement.)
I was honored with a special commission for an "In Box Series" piece to fit over a king-sized bed in a room with a decor mostly in burgundy. It was so much fun making this piece, my largest in this series and uniquely a horizontal. Yesterday I sent a PDF to the nice lady who ordered the work. She already loves it ... just from the photos! Below are some of the images I sent in the PDF documenting the process.

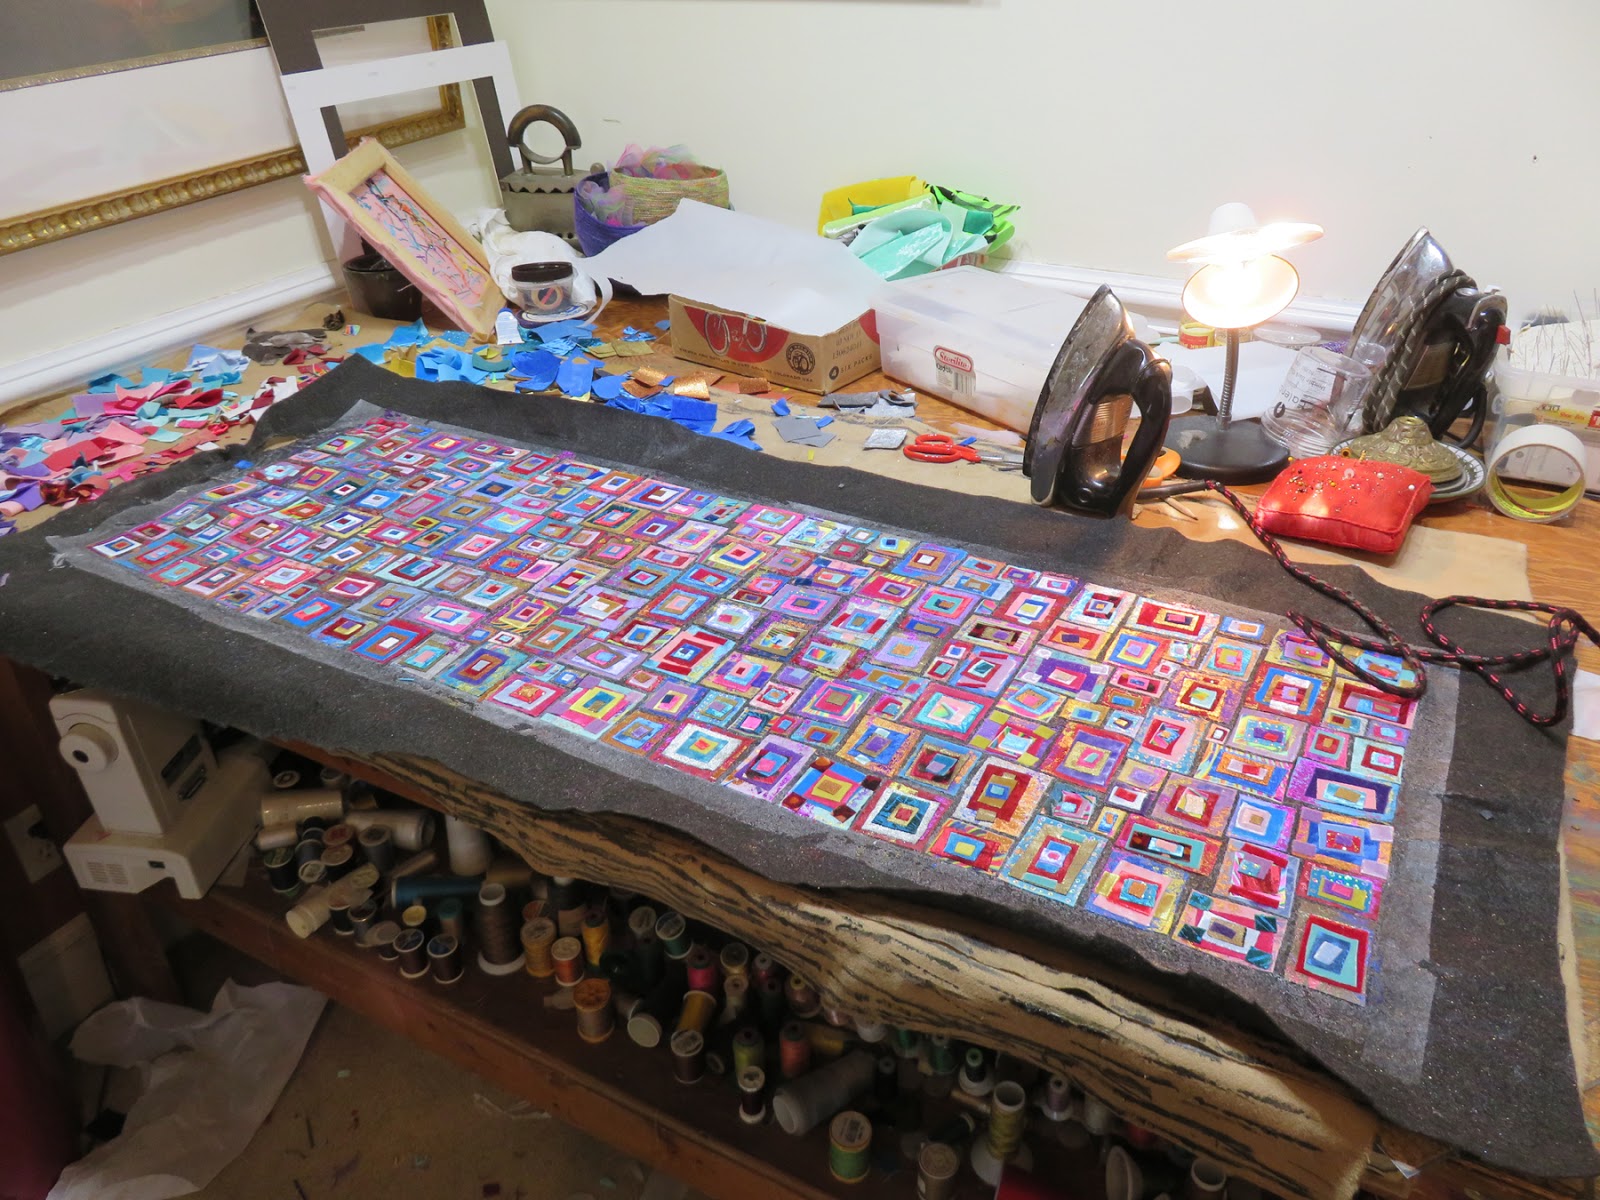
First, I ironed out a piece of Wonder Under the size of the finished work. This foundation allows me to see exactly where the edges need to be.

Then, I lay out the initial layer of polyester stretch velvet squares inside the perimeter ... using red, magenta, burgundy, light pink, purple, lavender, tan, light blue, turquoise, medium blue, royal blue, dark teal, metallic gold, metallic copper, metallic silver, and a psychedelic pattern with plenty of colors.

Another layer of Wonder Under is ironed over the blocks. To this, I apply heat-activated metallic foiling ... in purple, magenta, royal blue, gold and copper.
Then comes the most fun part of the construction. Lots and lots more squares and rectangles are piled onto the initial shapes, often as many as six layers. Each shape is progressively smaller.

Another sheet of Wonder Under is ironed over the surface. To this, I add strips of chiffon scarves. These thin strips serve two roles: first, they allow my machine to more easily glide over the uneven surface and second, they as color shifts and extra interest to the palette.

I forgot to snap any photos while I stitched the work ... but afterwards, it was stapled to a stretcher bar (except for one short end ... which was laced to the wooden framework.)

From there, I go to the garage. Wearing my carbon-filtering ventilator mask, I melt holes through the synthetic layers using three different sizes of soldering irons. Finally, I zap the work with an industrial heat gun.

Here I am stitching the finished piece to mat board. The mat board is already in a gold liner.

This is how I took the photos of the finished work ... on our back steps. The gold liner was placed into the outer frame. I snapped the photo before fitting crystal clear, anti-reflective, UV glass between the liner and the frame.

This is a detail of the work. I can't wait to show it to its new, wonderful owner. She's already written that it is perfect! Today is a good day ... in fact GREAT! It is always such an honor to be trusted with the creation of something that will be hanging and admired for years to come.
I'm linking this post to Nina-Marie's "Off the Wall Fridays", a site for sharing fiber arts.


