

Recently I was contacted by the Grovewood Gallery, a place I've been proud to have represent my artwork for over a decade. A client wanted a Large Stained Glass piece for over her bed. The work needed to a horizontal and slightly larger/taller than my normal size. The finished/framed size was to measure 27" x 63" (My usual size is 23" x 63"). The gallery asked me if I would make two pieces so that the client could have a selection. The second one would immediately go on the gallery walls. This sounded great to me ... especially since I was allowed to design the works and there would be no other input. Creative freedom! What a blast. So the rest this blog post shows the process of making these two works!

(Above: A composite image showing the pattern pieces for the foundation layer. I had already sketched the basic design on graph paper.)

(Above: The foundation piece of polyester stretch velvet ironed onto the substrata of recycled black industrial felt. My entire stash of polyester stretch velvet already has Pellon 805/Wonder Under ironed to the reverse side.)

(Above: Additional shapes of polyester stretch velvet are cut and layered onto the foundation pieces.)
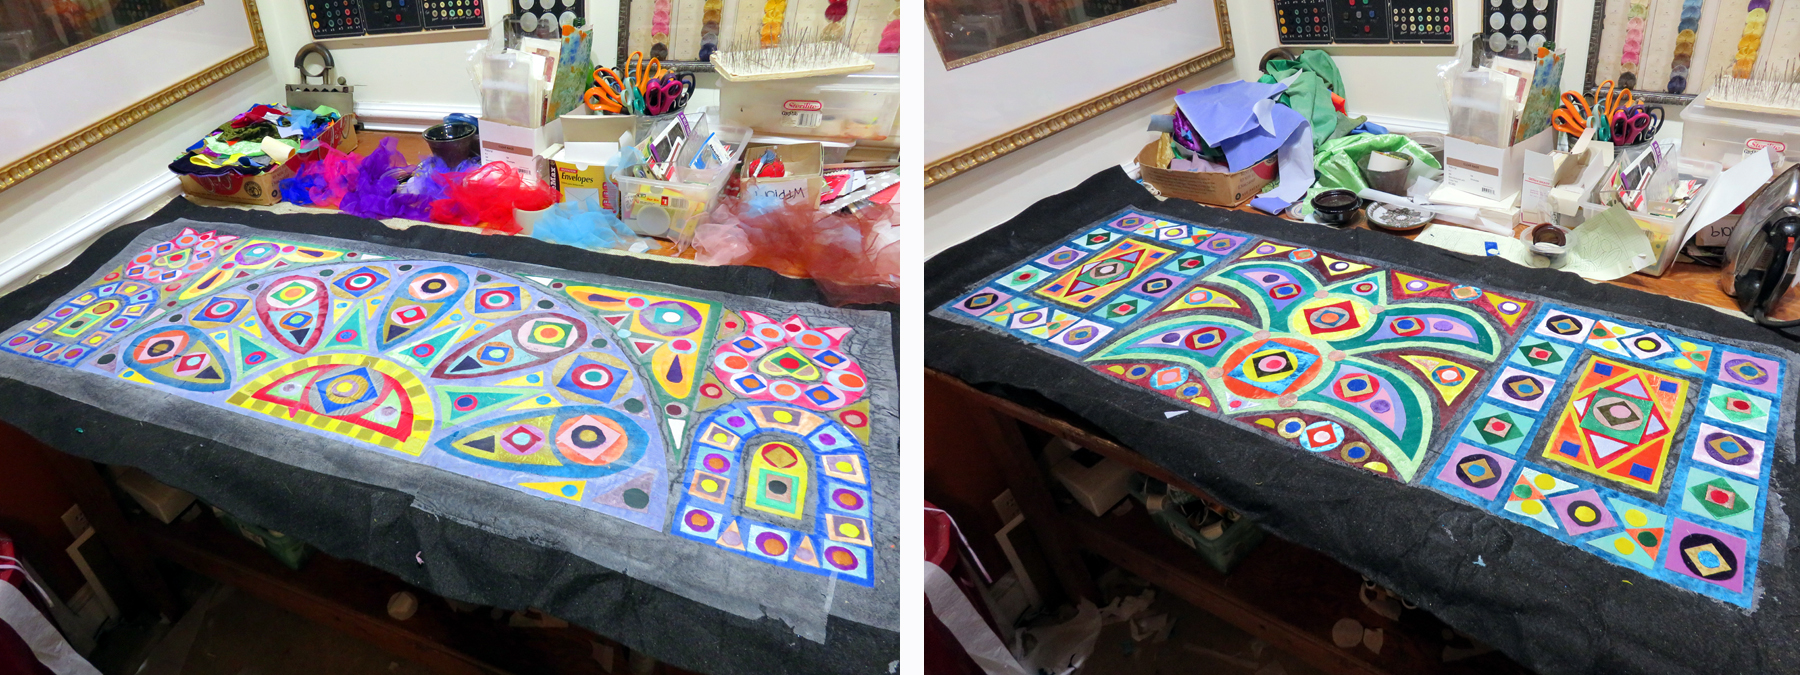
(Above: Even more shapes of polyester stretch velvet are cut and layered onto the surface. Some of the layers are as deep as seven shapes on top of one another. The image above shows the final design. At this point, I iron another layer of Pellon 805/Wonder Under over the entire surface in order to iron strips of sheer chiffon scarves on top of everything. The chiffon scarves create complex shifts of colors and also provide a smoother surface over which I can more easily do the self-guided free-motion machine embroidery. I stitch with only 100% black cotton thread. The thread is the only natural material in the entire process.

(Above: After stitching the entire piece, it is stapled to a stretcher bar. This is to prevent the piece from shrinking during the final melting process. In the image above, the strips of chiffon scarves are quite obvious.)

(Above: I used two sizes of soldering irons to melt holes through the layers of polyester stretch velvet. Some of the holes become "lines" as I drag the soldering iron through the material. In the photo above, the stitching is more obvious ... especially the "little bridges" that link the foundation pieces.)

(Above: I always wear a carbon filtering ventilator mask to avoid breathing in the toxic fumes produced by melting polyester stretch velvet. Ernie doesn't have a mask but he didn't stay too long in the garage while this step was being done. Ernie does tend to supervise every step ... except for the final one. The final step is exposing the entire surface to the intense heat of an industrial heat gun. I start from the reverse and aim for the space between the foundation pieces ... the space linked by the "little bridges" of cotton thread. This technique works because "Synthetics Melt" and "Naturals Don't Melt". Everything except the thread is a synthetic. Of course, if I kept aiming the heat gun at all this polyester stretch velvet, it would eventually melt into a plastic blob. Of course, if I kept aiming the heat gun at the "little cotton bridges", they would eventually BURN. The final step is rather quick and easy ... just melt away the excess felt between the foundation pieces. It can be viewed on You Tube at: https://www.youtube.com/watch?v=64QdKCueHFI&t=1s )

(Above: One of the two commissions mounted on over-sized mat board. After using the heat gun, I trim up the "fringe" ... which is simply another line of machine stitching ... sort of like a "little bridge to nowhere". Some of the felt just gets caught in the cotton thread. Then, I hand-stitch the piece to an over-sized piece of mat board and fit it into a black linen liner. At this point, I wire the linen liner in order to capture photographs. Pictures are taken while the piece is hanging on our garage door ... when the sun isn't shining on the door! Finally, Steve puts the linen liner into the frame. The glass is already in the frame and it thus between the frame and the liner. This is important because this means the glass isn't touching the artwork.)


2 comments:
Gorgeous work! As always I love seeing the process. I enjoyed the video too. Best wishes for many sales. Stay safe.
amazing
Post a Comment