Thursday, August 27, 2020

Mandala II

(Above:  Mandala II. 46" x 46".  Custom framed section of a vintage quilt onto which assorted found objects have been stitched.  Click on any image to enlarge.)

Even before finishing the first mandala, I was thinking about the second one ... and the third one (on which I'm currently stitching) and the final one.  There will be four similar pieces because there are only four corners on the vintage quilt.

 (Above:  Section of the vintage quilt stapled to a stretcher bar and about to have a layer of pale blue tulle applied over the surface.)

The vintage quilt came from auction. I didn't pay much for it.  (Rarely have I ever paid even $20 for an old quilt.  Often, I've purchased a stack of four or five for less than $20 ... sad but true.)  I understand why many are so inexpensive.  Many are damaged, and this one certainly had several tattered places.  I did not repair anything.  Instead, I applied a layer of pale blue tulle over the entire surface, stapling it to the sides of the stretcher bar.

 (Above:  Late 1960s plastic president figurines.)

I was quite excited about starting this mandala during the Democratic and Republican National Conventions.  Why?  Well, I decided that the first things to be stitched to this mandala would be my "presidents", late 1960s plastic president figurines produced by Louis Marx and Company.  What a perfect way to contemplate politics while stitching!

(Above:  Ernie, our new kitten, helped me stitch!)

I drew two circles in pencil directly onto the quilt.  One line helped place the base of the presidents.  The other provided an inner circle of gold buttons.

 (Above:  Mandala II. 32 1/2" x 32 1/2".)

Other found objects include brass hinges, keys, fountain pen nibs, screw eyes, plastic forks and spoons, sewing machine bobbins, safety pins, parts of a brass chandelier, lots of buttons, four old metal hair curlers, and eight pairs of small, dull scissors.  But the most fun was still "the presidents"!


These late 1960s figurine were a birthday present from my Grandma Lenz. She shopped at a grocery store that gave coupons for collecting them.  I received the entire set, including a Styrofoam stepped platform with four removal Styrofoam columns.   My three younger sisters and I played with them all the time, memorizing all their names and numbers (as in "first" president/George Washington; "sixteenth"/Lincoln; thirty-seventh/then serving President Nixon.) We turned shoe boxes into government agencies and cut out "wives" for them from the Sears catalog.  (For a "wife", we carefully glued the small inset images showing alternate colors for dresses to pieces of cereal boxes.)

 (Above:  Please note ... Grover Cleveland as 22nd and 24th president.)

A couple years ago, my sister's friend heard about our days playing with "the presidents".  She thought it absolutely hilarious that four girls played with such toys.  She found a set on eBay and bought it for us.  She thought we hadn't kept the first set, but of course we did.  So, I ended up with two complete sets ... which meant I could put Grover Cleveland in twice ... as 22nd and 24th president.

 (Above:  Detail while hanging as a diagonal.)

I took photos of the finished piece both as a square and as a diamond.  I like the diamond presentation but think the detail shots are better when photographed as a square.
 (Above:  The piece hanging on the garage door.)

The photos were taken while the piece hung on our garage door.

 (Above:  The back of the piece.)

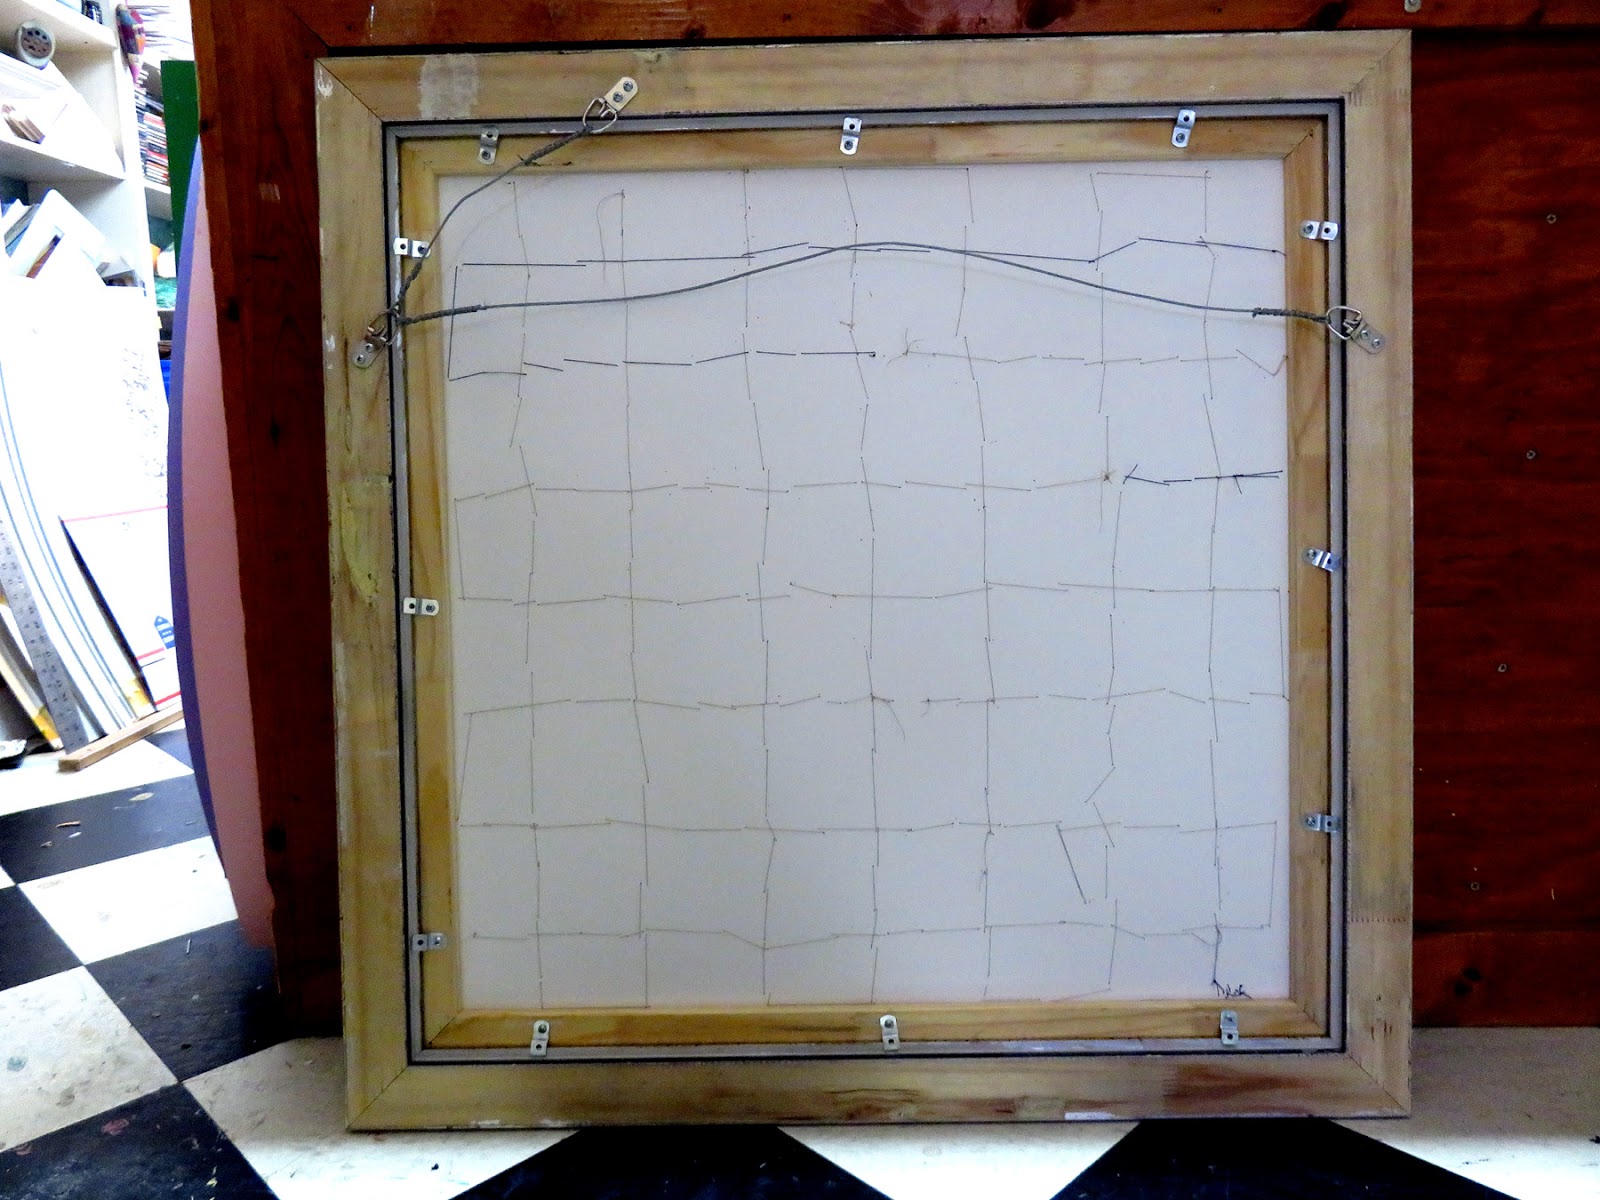
It really doesn't matter how I hang it.  The work is quite stable.  After stitching everything to the quilt section, I removed the piece from the stretcher bar.  A piece of acid-free, foam-centered board was glued to the face of the stretcher bar.  The piece was re-stapled to the stretcher bar.  Then, I stitched vertical and horizontal rows straight through the foam-centered board and quilt ... every four inches.  No part of this piece must bear more weight than just these small sections.  The work was then fitted into a floater styled frame (one that does not lip over the edges).


I'm really pleased with how this turned out and already making headway on the third mandala!

Monday, August 24, 2020

Western Flicker

(Above: Western Flicker, a mini art quilt. 12" x 12".  Click on image to enlarge.) 

As COVID-19 continues to impact my life and work, I am drawn to images of dead birds. Their still bodies convey a magical awareness of profound beauty. Soft and colorful feathers speak of sun rises seen from soaring heights and sunsets in the comfort of a self-built nest. Each day is a gift to be explored no matter how precarious the world might be.  No matter how safe we try to make our environment, we will eventually die. I hope that my last day will be equally beautiful as the afternoon I spent at PLAYA, an art residency in the remote Oregon Outback where I came upon this Western Flicker.

In the meantime, I'm trying to overcome the learning curve thrown at me due to changes with Blogger's interface.  By the time I figure it out, it will likely change again!  Thanks for putting up with strange formatting of images and text!

Saturday, August 22, 2020

Improvisational Quilt Challenge


(Above:  The scraps in the box I was sent for the GA/SC SAQA scrap challenge.)

I've never really been one to go in for quilt challenges. Perhaps this is because I've never been a member of a quilt guild where challenges are popular, but perhaps it stems from the fact that I don't generally make the sort of work expected. So, I wasn't really sure what to do when my region of SAQA (Studio Art Quilt Associates) decided to have a scrap challenge.  I wanted to be supportive but I worried that whatever I might do would look foreign when compared to the others in the group. 

(Above: Improvisational Quilt Challenge I.  13" x 10".)

Had the pandemic not forced my region to turn to Zoom meetings, I might not have participated at all.  Before COVID-19, the regional meetings were held in a venue four-and-a-half hours from home.  I never went.  I didn't feel connected to the group and wouldn't have felt compelled to be supportive.  (Please note, I'm not feeling sorry for myself regarding the distance or the disconnect.  I've been a member of SAQA for over a decade. During the first several years, my region didn't do much of anything. It never made a difference to me.  Meetings and challenges and "show-and-tell" were never part of my reason for being a member!)

(Above:  Improvisation Quilt Challenge II.  19" x 15".)

Since the pandemic, however, meetings were virtual.  I could log on easily. Suddenly, there was an opportunity to participate, and there was also a demonstration during the last Zoom meeting.  The demonstration was on improvisational quilting.  Unfortunately, the recorded Facebook Live session didn't sync with the Zoom platform. I can honestly say that I really didn't understand most of the process, especially something called a "wallpaper cut" (which I never did), but I think I got the gist of it (or at least I got the notion of stitching and whacking apart material almost randomly in an attempt to get a pleasing arrangement of colors and shapes.)  To me, it looked a lot like paper piecing (something I did about seventeen years ago for about a month) except without the paper. So, I signed up for the scrap box challenge in order to "try improvisational quilting."

(Above:  Our new kitten, Ernie, who helped with every bit of the stitching whether I needed help or not!)

The challenge was to "make something" out of a box of scraps donated to our region.  Nothing was to be smaller than 12" x 12" and nothing longer than 36".  I vowed to use every scrap in the four-pound box before it actually arrived.  I might not have done this had I seen the Crayola-colored creatures, the pirates with eye patches, the one-inch strips of batik, tiny pink floral prints, purple chicks on the brightest lime green background, black-and-white and multi-colored checkered fabrics, and pieces of blue and silver lamé.  Had I not promised to use every piece, I might have kept the 1961 Marimekko piece for something else.  (I did keep the salvage!  When in Finland in 2005, I couldn't afford any of this fabulous material!)  Thankfully, I had help with this entire challenge.  Our new kitten Ernie watched every one of the nine resulting pieces come into existence!

(Above:  Improvisational Quilt Challenge III.  19" x 17".)

I did not create these pieces one at a time.  I tried to simply stitch pleasant colors together until several seemed to "go together".  Because I was only using the scraps from the box, I ran out of many of the prints I preferred and had to figure out how to use the pieces I would have preferred not to use.  The lamé was decidedly NOT a fabric I'd select.  It is also not particularly good on the reverse ... but putting it there meant it didn't have to go on the front!

(Above: Improvisational Quilt Challenge IV: For Love of Electric Blue. 19 1/2" x 16".)

The Zoom meeting demonstration also included something about finishing each piece as a pillowcase.  I did that but I also turned the reverse into binding on the front.  Still, I much prefer blanket stitching the edges.  That's "my thing".  I never did figure out how to "piece a curve" but I like dense zigzag stitching better.  The paisley styled fabric on the reverse of Improvisational IV is from my stash but it seemed like a nice place to put the scrap of five materials already stitched together.

(Above: Improvisational Quilt Challenge V. 15 1/2" x 15 1/2".)

The demonstration also included a tip about using black and white to make other colors "pop". Frankly, I had problems with the white, especially the piece featuring script text.  Again, my blanket stitch edge pleases me best and I also like putting vintage pieces on the reverse side.  

(Above:  Improvisational Quilting VI. 27" x 11".)

Yet, I really did try to use black and white in high contrast ways.  The demonstration included making "crosses".  So, I tried that too.  I'm considering this piece a table runner even though I don't have a table for it! LOL!

(Above:  Improvisational Quilt Challenge VII and VIII, a baby's changing pad and quilt.)

Making something functional is a rather new idea for me, but this challenge also resulted in a baby changing pad and quilt for my nephew Tony and his wife Mara who are expecting their first child in early October.  This became a great way to use all the fabrics that truly shocked me.  

(Above:  Improvisational Quilt Challenge VI, a baby's changing pad. 24" x 16 1/2".)

For these two pieces, I used a piece of upholstery fabric from my stash (all materials acquired at auction or yard sales) for the reverse.  Steve gave me a piece of thin plastic for the inside.  It came between two panes of museum glass, a regular supply from our custom picture framing shop.

(Above: Improvisational Quilt Challenge VIII, a baby quilt. 26" x 30".)

Most of the planning for these quilts was done according to the size of the scraps.  The red inner border was selected simply because that piece of fabric was big enough to be cut into four strips.  The same goes for the four corners.  Most of the other scraps weren't this large.


(Above:  Improvisational Quilt IX. 30 3/4" x 20 1/2".)

The last piece finished was actually the first one started.  It has the Merimekko, bright orange fabric in it.  I can honestly say that I learned quite a lot during this challenge, mostly what I like to do and what I'd prefer never to do again.  Although the demonstration didn't suggest free-motion quilting, I already knew that was the only way I'd complete any of the work.  I learned, however, to be much, much looser with the stitching. Improvisational quilting will not be something I'll do regularly but I'm glad I spent much of last week doing it.  Learning something new is always worth the effort!


Thursday, August 20, 2020

The Clothesline at Wildflowers Too in New Jersey

(Above:  The Clothesline Installation at Wildflowers Too Gallery in Barnegat Light on the New Jersey shore.  Click on any image to enlarge.)

I am so very, very pleased that The Clothesline Installation is currently on display at Wildflowers Too Gallery in Barnegat Light on the New Jersey shore. Steve and I delivered artwork last month.  It's a fantastic gallery in a popular tourist town. When we were there, everyone was practicing social distancing and wearing masks ... so I'm sure those visiting the gallery will be safe and obviously, the installation is a reminder to "wash your hands"!!!


The gallery also has several of my pieces, including the entire Laundry Day Series. (Images are in two groups ... HERE and HERE.) Yet, it is the beautifully painted ceiling that impresses me most.  How perfect!  The Clothesline really does look like it is under puffy white clouds on a fabulous summer day!


Wednesday, August 19, 2020

Solitary Confinement, a mini art quilt

(Above:  Solitary Confinement, a mini art quilt. 14 3/4" x 11".  Image from an individual cell at the Eastern State Penitentiary in Philadelphia with hand and machine stitching and trapunto/stuffing. Click on any image to enlarge.)

Steve and I toured Eastern State Penitentiary in February 2014.  At that time, I learned of their annual art installation opportunities.  I applied later that year.  Competition is fierce, and as expected, my application was not among the successful.  That didn't stop me, however, from applying again this year.  Why?  Well ... perhaps some of the descriptive statements in my current application tell the story best!  

(Submitting is a lengthy process with many steps, design drawings, references, and questions regarding installation requirements and how the resulting artwork will impact future visitors.  Applying it not for the faint at heart and I do not expect an acceptance this year either ... but had to try!)


Under "Detailed Project Description", I wrote:

In late February 2014 my husband Steve Dingman and I toured Eastern State Penitentiary and I was forever changed. My blog post included, "I've never seen such a glorious ruin! The layers of peeling paint, the patina of rusted metal, the decay, the feeling of isolation and ghostly presence were overwhelming. I shot pictures until my camera's batteries died." Piles of snow in individual cells appeared as if the only company a prisoner might have had. I was profoundly struck by loneliness, by the very idea of "separate or solitary confinement" and the extreme measures to minimize contact between individuals. From that time onward, a silent cell at Eastern State Penitentiary became my mental image when hearing the word "isolation".

When COVID-19 threw a monkey wrench into busy plans for spring 2020, my two-person custom picture framing shop was deemed "non-essential" and forced to close. All plans were either canceled or postponed indefinitely. Sheltering-in-place shrunk my world, and after several weeks, I started experiencing loneliness in a new, horrible way. The more isolated I felt, the more I remembered the silent cell. Questions regarding protective measures, containment, and solitary confinement haunted my mind. Who is being protected in ICU units? Those inside or outside? How effective are homemade masks? How many people are simply bored? When would an average person go crazy? How can we, as a society, pick and chose who and what to save? Does quarantine work? Will loneliness set us free?

(Above:  Solitary Confinement, reverse ... which includes vintage pieces donated from my stash by Billie Hunkler, Jinny Cherry, and Bonnie Ouellette.)

The submission went on to describe my Quarantine Flags and how I would very much like to "install them using UV-quality 6/6 nylon zip ties to existing architectural features inside any available cell and/or down any corridor and/or in an exterior location. I would install them in a cell or other location in which visitors could snap selfies in this area of isolation. To stand in this enclosure would heighten the feeling of isolation and allow visitors to experience the overwhelming sense of loneliness in ways understood by the modern pandemic."  

There's a lot more in the application ... but this recap is likely more than enough to describe the potential project.  One of these days, I'm going to earn the opportunity to have an installation in such a grand location and with a stipend to pay for it all! 

 (Above:  Donation of vintage beading from Bonnie Ouellette.)

Anyway, while writing this submission back in May, I visited Spoonflower and ordered a piece of fabric on which one of my photos from 2014 was printed.  It's been my evening stitching for about a week.  I ordered several more images ... more dead birds, the last mini art quilt featuring creepy dolls, and a second image from Eastern State Penitentiary.  

For the reverse of this piece, I used a shadow-work embroidered doily with the letter B (mostly covered) donated by Jinny Cherry, a piece of crochet from Billie Hunkler, and an antique beaded applique from Bonnie Ouellette.  Frequently, I can't remember who donated what ... but this time I knew!  If you've ever donated to my stash ... THANK YOU!

Thursday, August 13, 2020

Mandala I

(Above:  Mandala I, detail.  Click on any image to enlarge.)

I've been drawn to found object since ... well ... FOREVER or so it seems. Over the years I've collected rusted nails, old keys, buttons, assorted screws and metal washers, sewing machine bobbins, upholstery tacks, grommets, safety pins, and even fountain pen nibs.  Each time I add to my stash, my thoughts are like those expressed from yesteryear, "Susan, one day you might need this!"  There's a "make-do"mentality, a "rainy day" idea, and a hope that all these things will serve a purpose.  

(Above:  Mandala I, 32 1/2" x 32 1/2".  Assorted found objects on a vintage quilt section.  Hand stitched.)

At auctions, I rescue vintage household linens too, an occasionally an old quilt that no one else wants.  There's a desire to salvage these tattered pieces and turn them into something new.  My approach is almost always with a threaded needle. Stitching is a meditative process.  It is slow but the repetitive motion is almost like a prayer ... like a rosary or a chant.  During this pandemic, I've been using several, silent moments for positive affirmations.  It has worked.  I've stayed positive, and somewhere in all of that was an idea to make a mandala.  

Once this idea presented itself, the rest was easy.  It just took time, a luxury of hours spent building an arrangement of found objects on an old quilt scrap.  I put a layer of pale blue tulle over the quilt before I started.  It is nearly transparent but protects the tattered areas nicely.  As I worked, I realized that I could display the finished piece in two different orientations. 


(Above:  Mandala I hung on my double garage door, as a square and as a diamond.)

As a diamond, the piece measures 46" x 46". 

I had a wonderful time picking out all the things I attached but I had plenty more of everything.  There were objects I didn't use too.  My solution is to make another mandala.  The fact of the matter is, I can make three more from the same, old quilt!

I've already started the next one!  Ernie, our new kitten, is quite pleased with this project!

After all, he was so very, very helpful during the construction of the first one!  I'll share the next mandala when it is finished.  Below are additional detail shots.


Monday, August 10, 2020

Dreaming During COVID-19

(Above:  Dreaming During COVID-19, a mini art quilt. 12" x 12".  Manipulated digital image printed on fabric with free motion and hand embroidery.  Click on either image to enlarge.)

As this pandemic drags on and more events, exhibits, and festivals are cancelled, I find myself stitching yet another image of vintage and antique dolls.  The change of colors reflects the way our world has changed.  The textural surface reflects the virus itself, infecting society.  The pose, however, is as if asleep and dreaming.  Some of the slumbering visions are a nightmare. There's something shocking in these dreams, like the shock of seeing people who refuse to wear a facial mask.  It is a nightmare to read about spiking numbers of newly confirmed cases and more notices of death.  Yet, there is something beautiful in this image too.  Like these dolls, I am dreaming of a better, healthier, more respectful tomorrow.  May that day come soon! 

 Below is a photo of the reverse side.  It reflects so many good things ... because much of the materials used were donated to my stash!  Gay Lasher once sent the lace used for the hanging sleeve.  Jinny Cherry and Dolly Patton donated the doilies.  Billie Hunkler recently sent the crocheted circle.  That's the world in which we pull together.  It is still with us and will win over this virus ... one day!


Tuesday, August 04, 2020

Biodiversity and a new kitten


(Biodiversity, 37 1/2" x 42 1/2". Recycled frame and vintage, crewel embroidered seat cushions with buttons and collaged letters.  Hand stitched.  Click on any image to enlarge.)

Some ideas stew for weeks, even years.  This one, however, was instantaneous.  From the moment I saw the raw material (six vintage, crewel embroidered seat cushions) to the first stitch took about two days.

(Above:  Stitching Biodiversity with our new kitten, Ernie.)

The button hole stitching around all the elements took a lot longer but I had company!  This is Ernie, our new kitten!  My husband Steve and I had no intentions of getting a kitten.  We thought we wanted a people-friendly, adult cat who would greet everyone coming to Mouse House, our custom picture framing business (which is the first floor of our historic home in downtown Columbia.)  We went to a nearby no-kill shelter to "interview/audition" cats, but Ernie stole our hearts.  He is also stealing the hearts of every customer because he has taken to his new job like a champ!

(Above:  The seat cushions.)

So here's how Biodiversity came about!  I was gifted these six, crewel embroidered seat cushions from a close friend.  Her grandmother had stitched them.  Even though they became discolored and tattered, they had been dry cleaned and kept for years.  Upon sight, I wanted to transform them from antique household objects into an artwork with a contemporary message.  Within a minute, I knew the piece would reflect an environmental issue. 
 
(Above:  The six, crewel embroidered seat cushions before alteration.)

Arriving at an environmental message wasn't rocket science!  All these exotic plants and pretty insects automatically conjured up "nature".  In fact, the variety suggested "biodiversity".  It reminded me of an earlier work I'd made, A Picture of a Plant.  I went and looked at it.  I remembered researching global warming, plant extinction, deforestation, and land exploitation.  Although I had my theme, I had to figure out how to use these seat cushions to convey my ideas.  I knew I couldn't keep them on their linen backgrounds.  I would have to snip the embroidery away, leaving only about a quarter-inch of the material around each element.  They'd have to "go on something else", some other, appropriate, vintage material ... somewhere in my stash.
 
(Above:  Before and after tea dying the background fabric.)

As luck would have it, the first piece of fabric I found was this wool embroidered piece of upholstery material. It was too bright and too "white" but I had an idea.  I don't know where I got it.  (Probably in a box lot from Bill Mishoe's auction.) It was an odd shape.  I cut off the "extra" and put the larger piece into a jug of tea overnight. The wool took the tea very, very well.  The background didn't turn out as "dark" but I really liked the contrast.


While the fabric line dried, I tried to imagine the pieces of crewel embroidery on it.  It was hard until I decided to use an old frame (also from Bill Mishoe's auction).  I needed to visualize the edges in order to compose the individual elements.

(Above:  The fabric and frame on my living room floor ... where I arranged the elements.)

The gold painted, spandrel frame was originally purchased for its potential to become part of my Anonymous Ancestors installation. I thought I'd cut a multi-opening mat for a dozen or so anonymous images, but the fact of the matter is that I don't have another solo show scheduled for this exhibit. I'm no longer sending out exhibition proposals for it.  So, I don't need another piece for this show. The frame has been leaning up against my mat cutter for months.  Perhaps it was waiting for this project!  I played around with the embroidered elements until satisfied, pinned them in place, and stapled the background fabric to a stretcher bar.  The stretcher bar was cut to fit inside the rectangular wooden strips on the back of the gold, spandrel frame.  I installed two work horses in the living room and have been stitching every night ... with Ernie!
 
(Above:  Biodiversity, detail.)

Thankfully, my stash also includes a pile of Appleton tapestry wool.  For hours, I put button hole stitches around the edge of every element.  Some of the smallest insects required a minimum of sixty stitches.  With Ernie often sitting on the piece (usually asleep ... because he tends to want to chase the thread!), the work got quite loose on the stretcher bars ... but that was okay!

(Above:  Acid free foam-centered board inside the lip of the stretcher bars.)

When I finally finished stitching, I removed the piece from the stretcher bars.  Acid-free foam-centered board went inside the lip and was glued into place.  Then, I restapled the piece to the stretcher bars.  Then, I used heavy duty thread to stitch through the piece and the foam-centered board.  I stitched horizontal lines every few inches.  This was done so that no part of the fabric had to support more than a few inches of the whole. 


Then, the stretched piece was installed in the frame, the corners stitched closed, and 1/2" off-set clamps screwed into place.  I added a heavy-duty hanging wire.  As an extra touch, I stitched a ring of buttons around the edge of the frame ... directly through the foam centered board and the piece.


(Above:  Collaging letters to the frame.)

Before installing the artwork, I collaged words onto the frame.  At the top, it reads: Biodiversity which is flanked by the words Protect and Preserve.  Around the rest of the rim:  Plants are the backbone of our ecosystem. Habitat destruction, exploitation, and climate change are killing the natural world. Support conservation efforts now!

I keep individual letters in two containers.  One holds the older, black-and-white letters.  The other (the one I used here) has the newer, colorful letters from magazines. 


Today I snapped photos of the piece while it hung on the garage door.  The daylight was perfect.  It took about twenty minutes to eliminate the garage door from the final photo.  Thank goodness for Photoshop!  Ernie seemed to approve of the finished piece ... but he tried to knead it with his little claws.


To keep it safe, it got hung about the door between my sales room and my mat cutting room!  Below are additional detail shots!